Master Your Bodyweight: The Essential Pull Up Bar Workout Guide
Build functional strength with a no-nonsense pull up bar workout. Learn progressions for pulls, rows, and core to meet military-grade fitness standards.

Military Calisthenics Coach
Take the drill with you
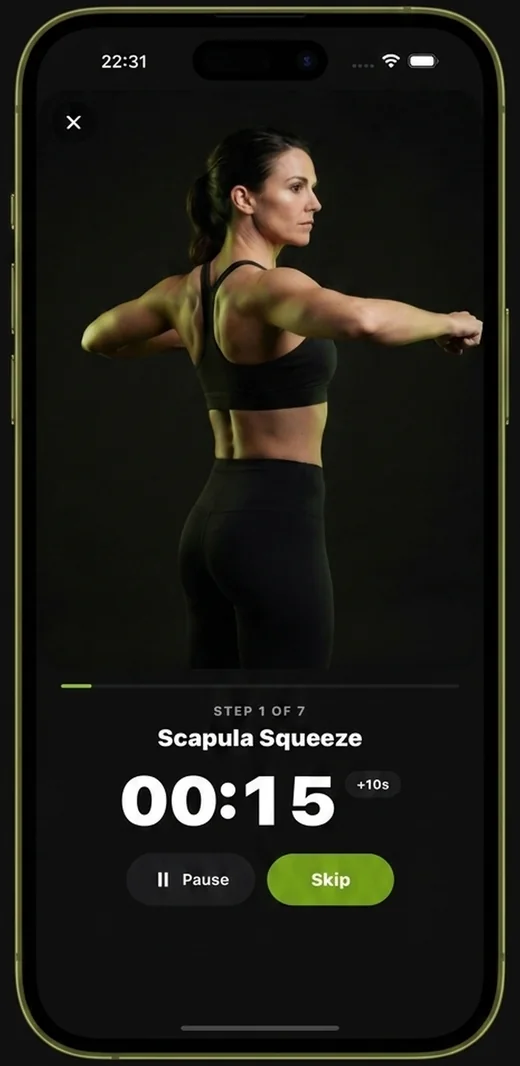
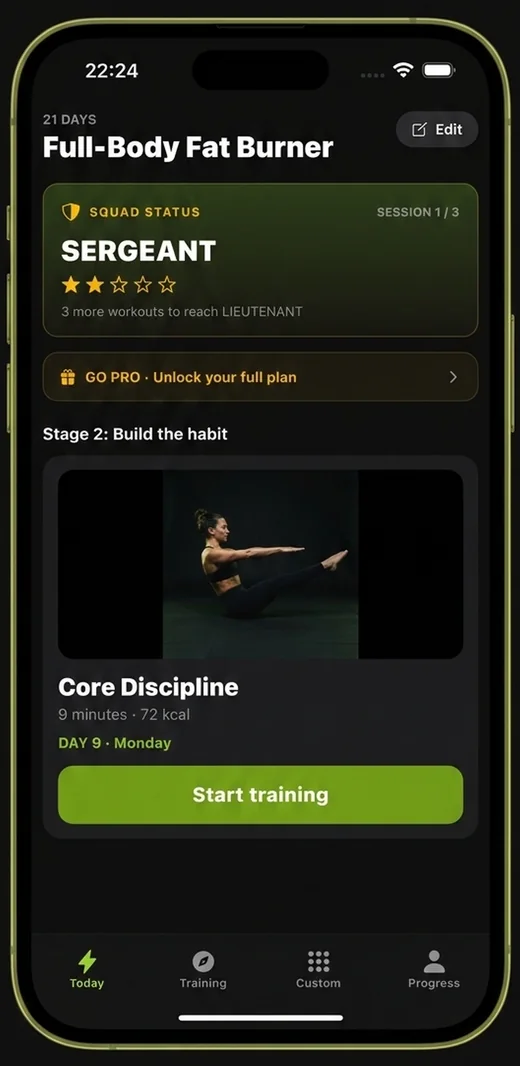
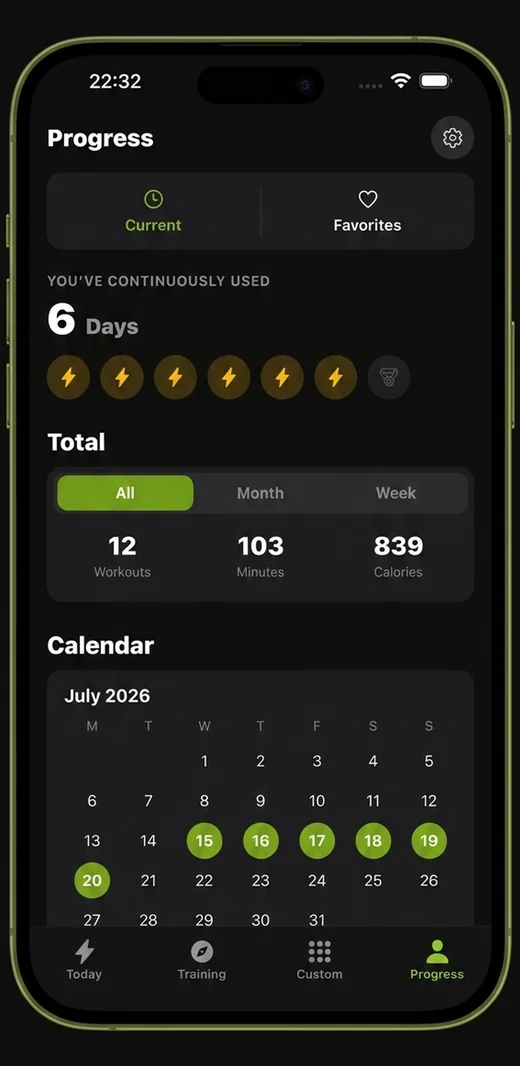
Everything on this site, built into a pocket coach. Military Calisthenics Coach turns the standards into a daily session you can run in a barracks, a garage or a hotel room — timed, tracked and scaled to you.
- A 21-day program that adapts to your level
- Guided timed sessions — no counting, no guessing
- Ranks, streaks and progress you can actually see

A structured pull up bar workout is the most efficient way to build upper body mass and functional pulling strength without stepping foot in a commercial gym. In military physical training, the pull-up is the gold standard of relative strength; if you cannot manipulate your own body weight through space, you are not combat-ready. This guide provides a disciplined, standards-driven approach to using a single piece of equipment to develop your back, biceps, and core. Understanding what military calisthenics is begins with mastering basic mechanical advantages, and the pull-up bar is the primary tool for those seeking consistent, measurable progress.
The Fundamentals of Bar Training
Before you attempt a single repetition, you must understand that the bar is a tool for tension, not just movement. When training for military-style strength, every rep must look the same: full extension at the bottom, chin over the bar at the top, and zero momentum.
If you find the standard pull-up impossible, you have not failed; you have simply identified a gap in your strength foundation. Begin by using the dead-hang to strict pull-up progression to bridge that gap. Consistency is the only metric that matters. If you are struggling with your first rep, prioritize eccentric-only training: jump to the top position and lower yourself as slowly as possible over five seconds. This builds the neurological pathways required for the concentric movement.
Essential Movements for the Bar
Your bar-only training should focus on three distinct planes of movement: vertical pulling, horizontal pulling, and core stabilization. While many view the bar only for pull-ups, the most effective programming utilizes it for a full suite of exercises.
1. The Strict Pull-Up
Focus: Lats, Biceps, Forearms. Cue: Initiate the pull by depressing your scapulae (pulling your shoulder blades down toward your back pockets). Do not let your shoulders roll forward. If you are struggling, review calisthenics for beginners to ensure your grip width—usually just outside shoulder width—is optimal for your frame.
2. Inverted Rows
Focus: Rear Deltoids, Rhomboids, Upper Back. If you have a lower bar or can use a TRX-style setup, rows are the primary corrective movement for pull-up imbalances. Aim for a horizontal body position. If your hips sag, you are failing the standard.
3. Hanging Knee/Leg Raises
Focus: Rectum Abdominis, Hip Flexors. Do not swing. A common mistake is using momentum to throw the legs up. Treat the hanging leg raise as a test of tension. If you must use a calisthenics core workout to build baseline abdominal strength, prioritize the hollow-body hold on the floor first.
The Weekly Bar-Only Program
This cycle is designed for the trainee who has limited equipment but high intent. Perform this routine three times per week, with at least one rest day between sessions. If you are also following the 8-week military calisthenics workout plan, ensure you are not doubling up on heavy pulling sessions.
| Exercise | Sets | Reps / Time | Rest | Intensity |
|---|---|---|---|---|
| Strict Pull-Ups | 3 | 5–8 | 90s | RPE 8/10 |
| Inverted Rows | 3 | 10–12 | 60s | RPE 7/10 |
| Hanging Knee Raises | 3 | 12–15 | 60s | RPE 8/10 |
| Dead Hangs | 3 | 30–45s | 60s | Maximal |
Progressive Overload Standards
In the armed forces, progress is not a feeling; it is a tracked data point. If you cannot track it, you cannot improve it. Maintain a notebook. Your goal each week should be a one-rep increase across all sets or a reduction in rest time. Do not add weight (like a dip belt) until you can comfortably hit 15 strict pull-ups with perfect form. Adding weight too early creates compensation patterns that lead to injury. For those interested in broader development, supplementing this with a calisthenics full body workout will ensure your pushing muscles keep pace with the pulling strength you gain here.
Troubleshooting Common Failure Points
The Grip Failure
Your hands will fail before your back does. This is a common plateau for beginners. Incorporate dead hangs at the end of every workout to increase your grip endurance. If your hands are slipping, ensure the bar is clean. Avoid thick gloves; you need to feel the bar to develop proper grip mechanics.
The “Chicken Necking” Trap
Many trainees try to get their chin over the bar by craning their neck forward. This is a “false rep.” Your chin must reach the bar through the full retraction of the shoulder blades. If you cannot reach the bar without craning, you are not ready for a full pull-up—go back to eccentric negatives.
Frequently asked questions
How many pull-ups should I aim for as a beginner?
Start by aiming for three sets of two strict, clean repetitions. If you cannot perform two, focus entirely on eccentric negatives—lowering yourself from a jump for a five-second count—until you can complete a full pull-up.
How long should I rest between sets of pull-ups?
For strength development, rest between 90 and 120 seconds. If you are training for muscular endurance, you can reduce this to 60 seconds, but your form will likely degrade after the first two sets.
Can I train pull-ups every single day?
Daily training is generally counterproductive for a beginner. Your tendons and nervous system require recovery time to adapt to the high-intensity load of pulling movements; aim for three days per week to allow for proper tissue repair.
What is the best way to modify the pull-up if I don’t have a bar?
If you lack access to a pull-up bar, utilize door-frame rows or heavy furniture like a sturdy table for inverted rows. While these do not perfectly mimic a pull-up, they maintain the horizontal and vertical pulling patterns essential for balanced development.