Pistol Squat Progression: A Military-Grade Training Guide
Master the pistol squat progression with this no-nonsense guide. Learn the mobility drills, scaling options, and standards to build elite single-leg strength.

Now on iPhone
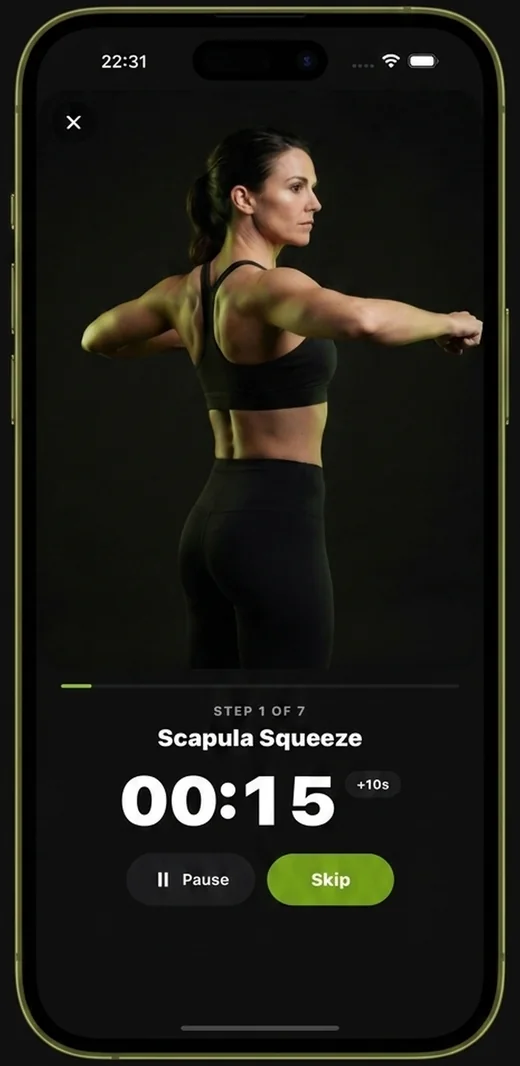
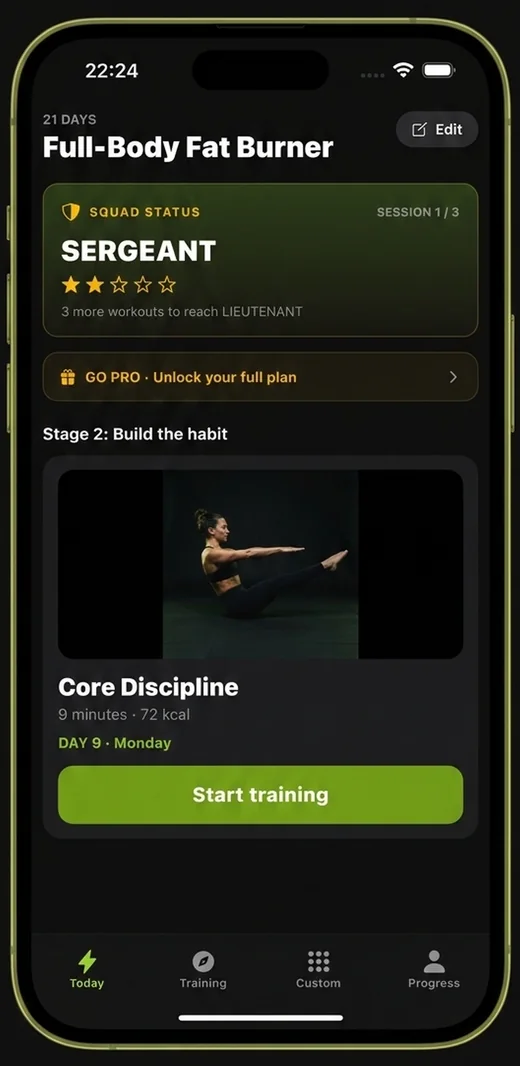
Military Calisthenics Coach
Take the drill with you
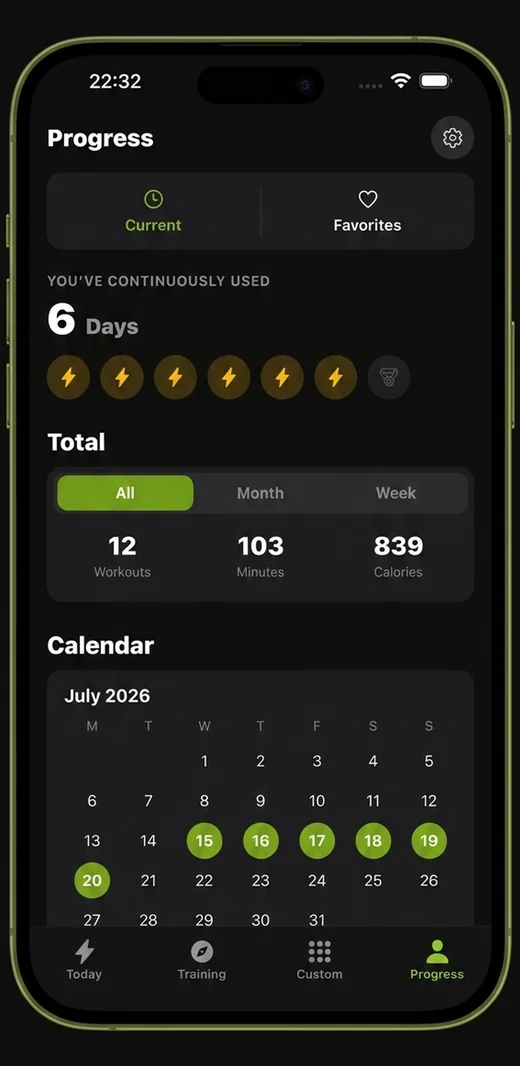
Everything on this site, built into a pocket coach. Military Calisthenics Coach turns the standards into a daily session you can run in a barracks, a garage or a hotel room — timed, tracked and scaled to you.
- A 21-day program that adapts to your level
- Guided timed sessions — no counting, no guessing
- Ranks, streaks and progress you can actually see

A proper pistol squat progression builds unilateral leg strength, coordination, and functional stability that carries over to real-world performance. You do not need expensive equipment to master this move; all you need is consistency, patience, and a clear understanding of the mechanics. Many beginners assume the limiting factor for a pistol squat is pure leg strength, but in practice, the most common culprit is poor ankle dorsiflexion. If your heel lifts off the ground or your torso collapses forward at the bottom of the movement, you are likely dealing with a mobility restriction, not a lack of power. Like the army prt exercises, the goal is quality over quantity, ensuring you hit full depth with total control before adding intensity.
Assess Your Baseline Mobility
Before you attempt a full pistol squat, you must screen your mobility. The primary constraint is ankle dorsiflexion—the ability of your knee to move forward over your toes while keeping the heel planted. Perform a test: stand facing a wall, place your big toe two inches from the baseboard, and try to touch your knee to the wall without lifting your heel. If you cannot do this, you will struggle to keep your center of gravity balanced during a deep single-leg squat.
The Mobility Correction Protocol
Perform these movements before your calisthenics leg workout to open up your range of motion:
- Ankle Distraction: Use a light resistance band tied to a low anchor. Loop it around the front of your ankle, lunge forward, and oscillate your knee over your toes for 60 seconds per side.
- Deep Squat Holds: Sink into a deep, full-range-of-motion squat with your feet flat. Hold for 30 seconds. If you fall backward, hold onto a vertical pole to support your balance while you fight for the lowest possible depth.
Step 1: The Box Squat Foundation
Once you have verified your mobility, start with box squats to build motor control. The goal is to train the brain to handle the load on one leg without the fear of falling backward. Start with a high box or a sturdy chair that puts your thighs parallel to the ground. As your strength improves, decrease the height of the platform until you are squatting to a low target.
| Level | Target Height | Reps | Sets |
|---|---|---|---|
| Beginner | Knee Height | 3x8 | 3 |
| Intermediate | Mid-Shin | 3x5 | 4 |
| Advanced | Floor/Touch | 3x3 | 5 |
Step 2: Assisted Variations and Counterweights
Many trainees fail because they lack the ability to counterbalance. Holding a light weight—such as a water bottle or a heavy book—directly out in front of your chest at arm’s length provides a necessary counterweight to shift your center of gravity back over your mid-foot. If you are struggling with calisthenics for beginners, use a vertical support, such as a door frame or a pole, to assist your descent. The objective is to use as little assistance as possible. As you feel stronger, start using only one finger for balance, then move to completely unassisted repetitions. Integrate these into the 8-week military calisthenics workout plan for consistent progress.
Step 3: Mastering the Negative
Eccentric training, or the “negative” portion of the lift, is a highly effective way to build the raw strength required to stand back up. Stand on a slightly elevated surface if needed, lower yourself as slowly as possible (aim for a 4-second descent), and then use both legs to return to the standing position. This technique builds the requisite tendon strength and muscle control needed to stabilize the joint under load. Ensure your non-working leg remains locked out and hovering throughout the entire movement.
Step 4: The Rolling Pistol
When you are close to the movement but lack the “pop” at the bottom, utilize the momentum of the rolling pistol. Start in a seated position on the floor. Rock backward onto your upper back, then roll forward with energy, using that momentum to plant your heel and stand up on one leg. This drill teaches you to engage the core and find your center of gravity rapidly. It is a fundamental drill used in various military calisthenics for women and men’s conditioning programs to bridge the gap between failure and success.
Frequently Asked Questions
How many reps should I do for pistol squats?
Focus on low-rep, high-quality sets. Aim for 3–5 clean reps per leg, ensuring your heel stays glued to the ground and your torso remains relatively upright. Do not prioritize volume over depth, as the pistol squat is a technical movement that requires precision.
How long will it take to master the pistol squat?
For a beginner with decent mobility, expect to dedicate 6–12 weeks of consistent, focused practice. If you have significant ankle or hip restrictions, you may need to add extra time for mobility work before you can achieve a full, unassisted repetition.
Can I do pistol squats if I have bad knees?
If you have history of knee injury, consult a medical professional first. However, if your knees are healthy but feel weak, the pistol squat is actually an excellent tool for building stability in the ligaments and surrounding musculature of the joint. Always prioritize control and avoid jerky, ballistic movements.
What is the most important cue for the pistol squat?
Keep your chest up and your focus locked on a fixed point at eye level. Most people fail because they look down at their feet, which causes the spine to round and the center of mass to shift forward, forcing the heel to lift. Maintain an upright posture to keep your weight balanced over your mid-foot.