Mastering the Calisthenics Weight Vest: A Standards-Driven Guide
Learn when to use a calisthenics weight vest, how to choose the right load, and how to program weighted calisthenics to build functional military strength.

Military Calisthenics Coach
Take the drill with you
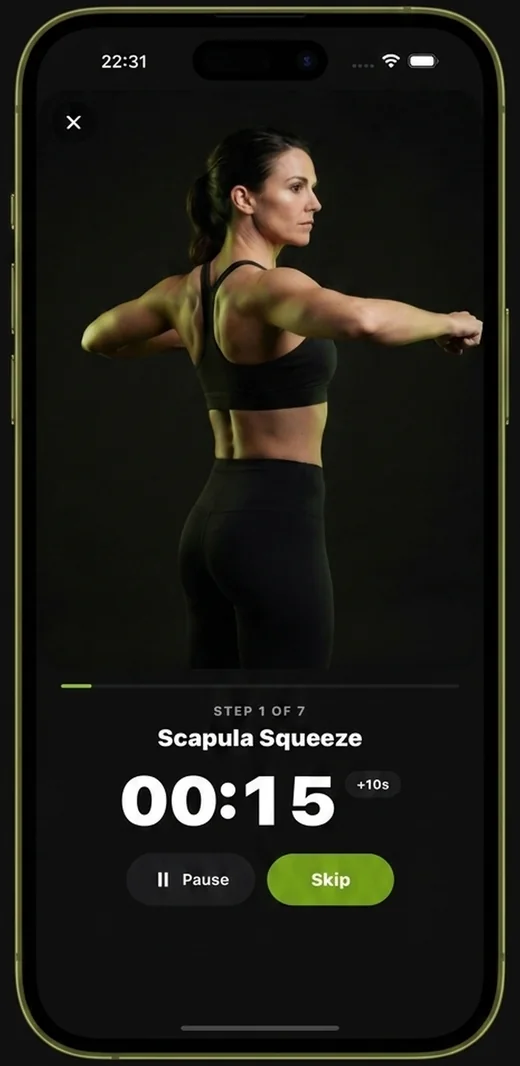
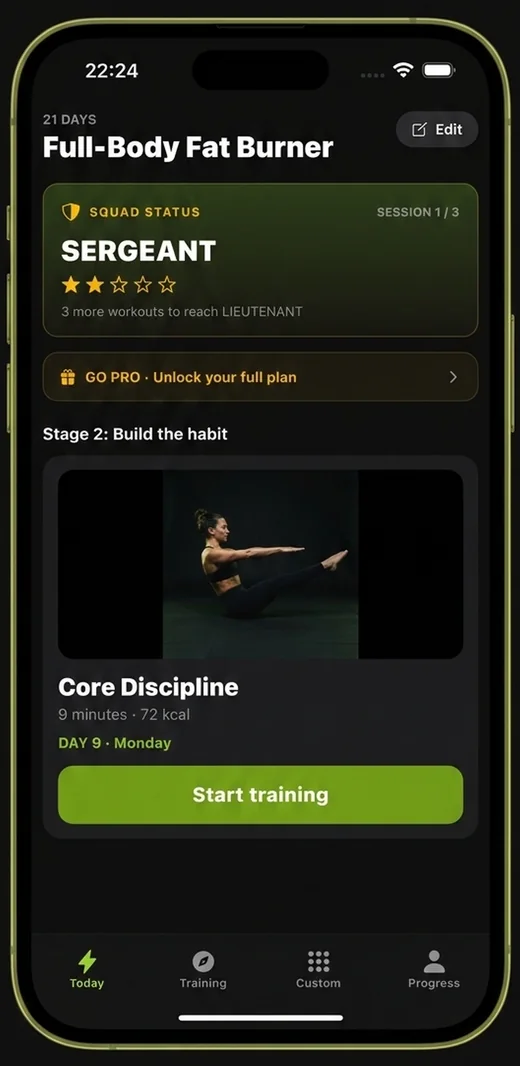
Everything on this site, built into a pocket coach. Military Calisthenics Coach turns the standards into a daily session you can run in a barracks, a garage or a hotel room — timed, tracked and scaled to you.
- A 21-day program that adapts to your level
- Guided timed sessions — no counting, no guessing
- Ranks, streaks and progress you can actually see


Using a calisthenics weight vest is a tactical decision to increase training intensity once your bodyweight capacity has surpassed the need for simple high-volume sets. When you can consistently perform 20 strict push-ups, 10 clean pull-ups, and 15 dips with perfect form, you have reached a plateau where bodyweight alone may yield diminishing returns for strength development. At this juncture, adding external load through a weighted vest for calisthenics mimics the practical necessity of carrying equipment in the field, turning a standard session into a rigorous test of raw power. However, never prioritize external load over movement quality; if your form breaks, the weight is too heavy.
The Prerequisites for Weighted Training
Before you invest in gear, you must understand what military calisthenics is. It is about mastery of your own frame first. Most beginners attempt to add weight before their connective tissues have adapted to high-volume work. This leads to common injuries, specifically in the shoulders and elbows. Before introducing a weighted vest, you should be able to complete a standard PT test battery with ease. A safe baseline for most trainees is the ability to perform three sets of 15 strict push-ups, 8 strict pull-ups, and 15 dips, all with a two-second eccentric (lowering) tempo and a one-second pause at the bottom. If you cannot meet these standards, focus on push-up progression or dip progression without artificial load until your baseline strength improves.
Choosing and Fitting Your Equipment
Not every vest on the market is built for the rigors of high-intensity training. When selecting a weighted vest for calisthenics, prioritize a model that fits snugly against your torso to prevent shifting during dynamic movements. A loose vest will act as a pendulum, throwing off your center of gravity and potentially causing friction burns or bruising. Look for a modular design that allows for small plate increments—typically 2lb or 5lb blocks—so you can micro-load your sessions. A range of 0 to 40 lbs is sufficient for 90% of trainees. Ensure the shoulders are padded, as you will feel every ounce during high-rep pull-ups or extended hang times. Before committing, consider if you have mastered the dead-hang to strict pull-up progression without assistance, as this foundational strength is mandatory for the overhead stability needed when wearing a vest.
Integrating Weighted Calisthenics
Weighted calisthenics should be used as a tool to break through specific strength plateaus rather than as a permanent substitute for bodyweight training. Treat your vest work as the primary lift of your session, performed while your nervous system is fresh. Below is a structured progression for a typical upper-body movement pattern.
Weekly Loading Progression Ladder
| Week | Movement | Added Load (lbs) | Goal Reps/Sets |
|---|---|---|---|
| 1 | Strict Pull-Up | 5 lbs | 5 x 5 |
| 2 | Strict Pull-Up | 10 lbs | 5 x 5 |
| 3 | Strict Pull-Up | 10 lbs | 5 x 6 |
| 4 | Strict Pull-Up | 15 lbs | 5 x 5 |
| 5 | Deload (No Vest) | 0 lbs | 3 x Max |
If you find yourself stuck, return to the 8-week military calisthenics workout plan to reset your volume and refine your technique before adding weight again.
Alternative Ways to Add Resistance
If a vest is outside your budget or current requirements, you do not need to abandon the concept of progressive overload. Many military units train under strict space and gear constraints, relying on internal resistance modifications. You can increase the difficulty of a move without a vest by changing the leverage:
- Tempo Manipulations: Increase your time under tension. Perform a 5-second descent on every push-up, pausing for 2 seconds at the lowest point.
- Deficit Training: Use objects to increase the range of motion. For push-ups, place your hands on blocks or chairs; for pull-ups, use a longer hang to reach a full dead stop.
- Unilateral Shifts: Shift your center of gravity to one limb. Archer push-ups or assisted one-arm rows force the working side to handle a significantly higher percentage of your total body weight.
Frequently Asked Questions
How many pounds should I start with in my vest?
Start light, typically between 5% and 10% of your total body weight. The goal is to induce a stress stimulus without compromising the integrity of your movement. If your rep count drops by more than 30% compared to your unweighted baseline, the load is too high for that specific exercise.
How long should I wear the vest during a workout?
Keep the vest on only for the working sets of your primary movements. Take the vest off during your accessory work, mobility intervals, or resting periods to allow for better blood flow and recovery. Wearing a vest for a 60-minute duration is unnecessary and may lead to undue strain on your lower back.
Can I use a weighted vest for cardio training?
While you can use a vest for weighted hiking or rucking, avoid high-impact jumping or running if you are not conditioned for it. The extra mass significantly increases the force absorbed by your joints with every foot strike. Prioritize controlled, steady movement like a weighted power walk rather than sprinting.
What is the best way to clean my vest?
Remove the weights and scrub the fabric with a damp cloth and mild soap. Most vests are not machine washable due to the internal pocket stitching and potential damage to the fastening straps. Allow the vest to air dry completely to prevent sweat-induced corrosion on the plates and mold growth in the padding.